How to Take Screenshot on Computer, Laptop in Windows 7/8/10. Sometimes, you have no any print option available, and you want to save that task to see later. The only way is to take screenshot of that screen as well as active windows. There are various shortcut keys available to complete this screenshot. In this article, we will discuss all its possible methods in different types of windows, Laptop or Tablet.
1. Use the keyboard shortcut to take screenshot: PrtScn / CTRL + PrtScn
This is the first way to take screenshot and also works in all type of windows. On your keyboard, press the PrtScn (Print Screen) key or CTRL+PrtScn keys. Windows will capture a screenshot of the whole screen and will save it to the clipboard. Now you have a option to choose any of the programme by which you could edit this clipboard. such as Paint, open it and paste the clipboard. You may make changes with own requirement and save it with different drive.
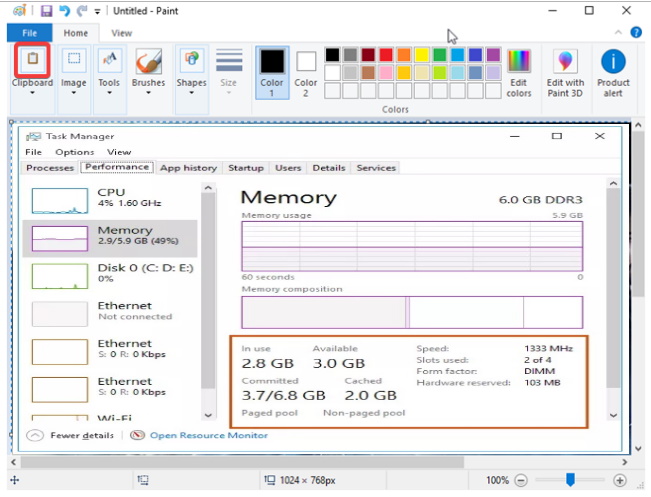
2. Use the keyboard shortcut: Windows + PrtScn
To take a screenshot of the whole screen and later save it as a file on the hard drive, without using paint or any other tools, You should simply press Windows + PrtScn on your keyboard.
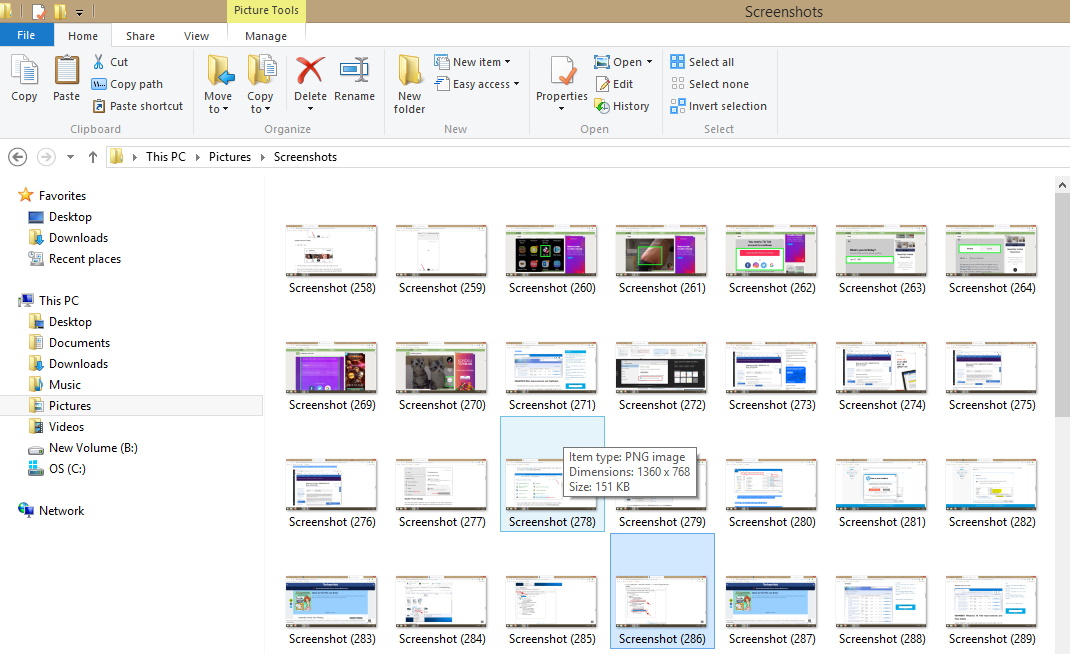
This type of screenshots will be saved in the Pictures library, under the Screenshots folder. The file is named “Screenshot (number).png,” where the number varies based on how many screenshots you have taken. See the below mentioned picture.
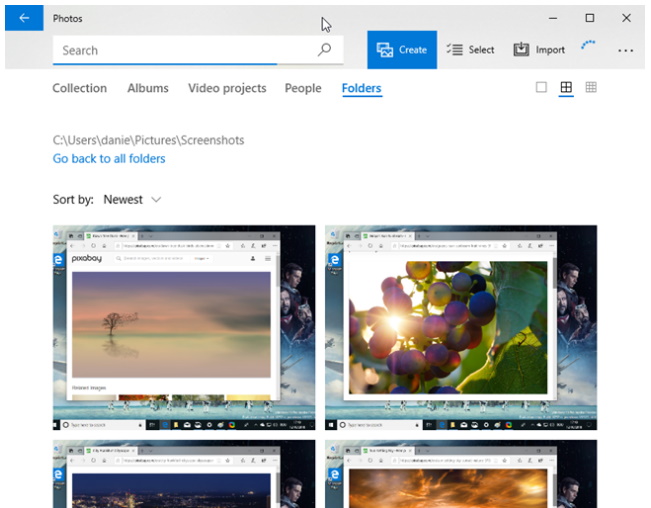
In Windows 10, you can also find your screenshots if you use the Photos app, by going to “Folders -> Pictures -> Screenshots.”
3. Use the keyboard shortcut: Alt + PrtScn
You mayo capture screenshots of the active window. Open the window that you want to capture and press Alt + PrtScn on your keyboard. The screenshot is saved to the clipboard. Open Paint or any other photo editing app and Paste the image so that you can edit it and save it to your Windows computer or device.
4. Use Fn Key of Keyboard (Specially for Laptop or Tablet)
If you have a laptop or a convertible device with a Fn key, then apply one of the following: –
- Fn + PrtScn – It will capture a screenshot of the whole screen and copies it to the clipboard. It is the same that of pressing the standard PrtScn key.
- Fn + Windows + PrtScn – Capture a screenshot of the whole screen and saves it as a file on the hard drive, without using any other tools. Windows stores the screenshot in the Pictures library, in the Screenshots folder. It is the same as pressing Windows + PrtScnon a standard keyboard.
- Fn + Alt + PrtScn – It will capture a screenshot of the active window. It is the equivalent of pressing Alt + PrtScn on a standard keyboard.

On some keyboards, the PrtScn button might not perform two or more actions. However, it will not work until you press Fn lock key. On such keyboards, the Fn key works as a lock for the function and multimedia keys on the top, including the Print Screen key.
If you have such a keyboard, press the Fn key to unlock the top row of keys and then use the shortcuts we described in the first three sections of this article. They should work now.
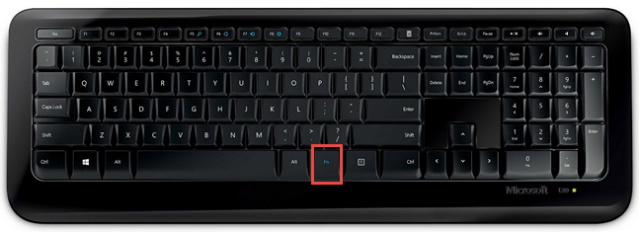
In a Surface Pro tablet of Microsoft with Windows 10, there is no PrtScn key on the Type Cover. you need to use different keyboard shortcuts.
- Fn + Spacebar – this shortcut saves an image of your active screen to the clipboard, so that you can paste it into any application.
- Fn + Alt + Spacebar -It will take a screenshot of the active window, to the clipboard so that you can paste it into any application. It is the equivalent of pressing the Alt + PrtScn keyboard shortcut.
5. Keyboard shortcut: Windows + Shift + S (Windows 10 only)
Press Windows + Shift + S to capture a region of your screen in windows 10 and copy it to your clipboard. After you press Windows + Shift + S, the screen is dimmed, and a cursor is shown, that you can use to draw on the screen the region that you want to capture in a screenshot. Press the left-click mouse button, draw the area that you want to capture and release the mouse button. If you have a touchscreen, draw the area that you want to capture with your finger (or pen) on the screen.
The screenshot is saved to the clipboard. Open Paint or any other photo editing app and paste the screenshot so that you can edit it and save it. This feature was originally part of OneNote but it has been added to Windows 10 itself, which is excellent.
6. Through Snipping Tool
The Snipping Tool is a great desktop app for taking screenshots. It can create all kinds of screenshots, and you can also use it to do some light editing. Search for the words “snipping tool” in the Start Menu search box (if you use Windows 10 or Windows 7) or on the Startscreen (if you use Windows 8.1) and click or tap on the appropriate search result.

7. Use the Snip & Sketch app (Windows 10 only)
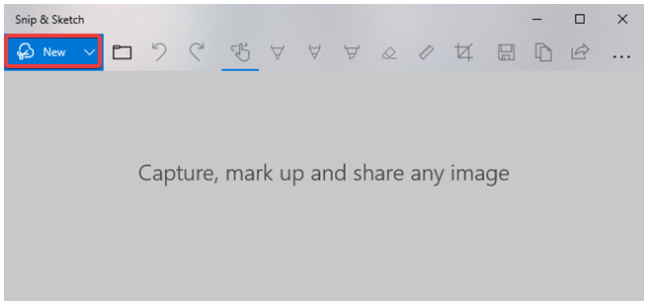
Microsoft launched a new app in Windows 10 to replace the Snipping Tool. For the time being, the two apps are both available in Windows 10. Snip & Sketch adds new features and, as its name suggests.
The first is to press the New button in the Snip & Sketch app or CTRL+N keyboard shortcut:
8. Use the keyboard shortcut: Windows + Alt + PrtScn (starting with Windows 10 Creators Update only)
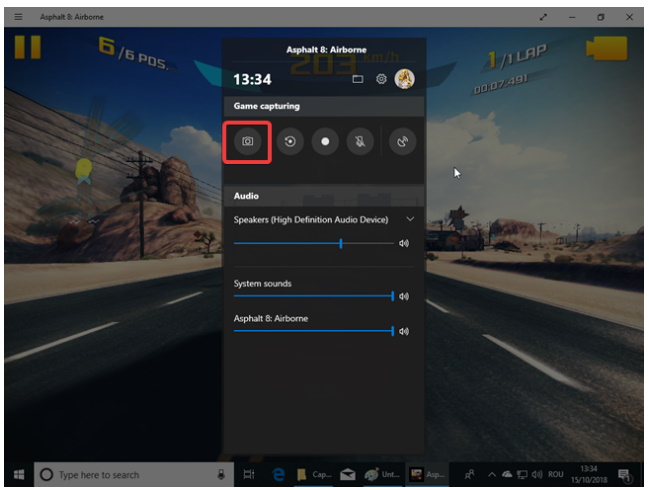
In Windows 10, Microsoft has introduced the Game Bar while playing games of all kinds. You may capture a screenshot of active game on your screen through Game Bar. While playing a game, press the keys Windows + Alt + PrtScn. A screenshot is automatically created and stored on your Windows 10 computer or device. You can also bring up the Game Bar by pressing Windows + G. Now make a click or tap the “Take screenshot” button highlighted below.
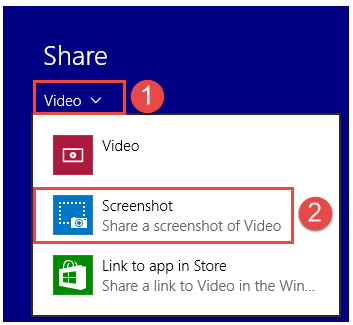
9. How to Take screenshot with the Share charm (Windows 8.1 only)
Windows 8.1 has improved the Charms concept from Windows 8 to take and share screenshots. This guide shares how they work: Introducing Windows 8.1: How to Share Screenshots from Any App
Thanx…

2 thoughts on “09 Methods to Take a Screenshot on Computer, Laptop in Windows 7/8/10”