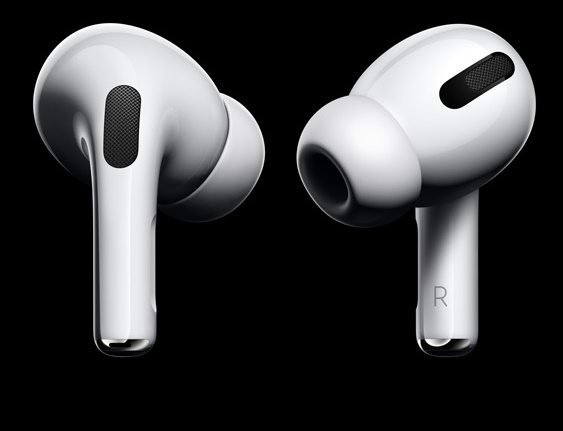
How to Pair Connect Apple AirPods in Windows 10 PC. Apple introduced AirPods during December 2016 and recently its 2nd generation was released in March 2019. AirPods are like a wireless headphone which is much differ from the wired Earbuds. Earbuds are joint with wires and you have to use it in “Y” shapes connected with a port which controls the volume, Play, pause audio etc. Whereas Airpods are wireless device which is connected to iPhone as well as other Apple’s Product such as iPad via Bluetooth. Both the AirPods are not linked with each other and both are connected separately via Bluetooth.
The AirPods having a charging case includes which are charged alongwith the case. You haven’t to remove the ear pieces from the case while charging. Now Apple has launched a wireless charging facility in their release of AirPod 2 (Second generation).

How to Pair Connect Apple AirPods in Windows 10
The main attraction of AirPods is its in-built microphone feature that filter or avoid out side noise. AirPods are basically designed to use all the other Apple Product. But you can also use it with your Windows 10 Computer. Today in this article, we will discuss How to Connect Apple AirPods in Windows 10.
Here are the process to Pair AirPods with Windows 10: –
- At first, charge the AirPods with duly covered with the case.
- Now turn on the AirPods by holding the Circular button.
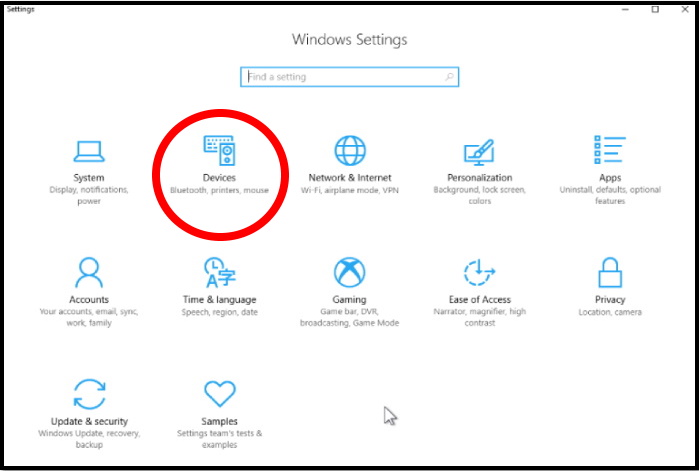
- Now go to the Windows 10 system and Press Win + I shortcut key conjointly.
- Windows setting window will open.
- Here choose the option Devices.

- From the left pane of Devices setting window, click on Bluetooth & other devices.
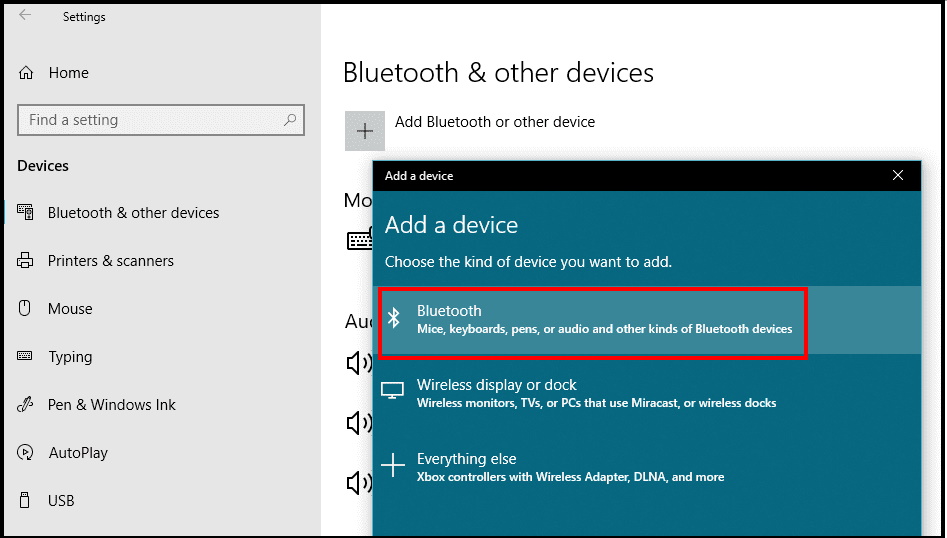
- Thereafter click on Add Bluetooth or other devices from the top of the screen at the right side of setting window.
- A new page Add a device is open to choose the kind of device you want to add.
- Here select the option Bluetooth.

- A list of discoverable items of nearby device will appear.
- From the list, choose AirPods option.
- Wait a while, your Airpods are paired and successfully connected.
How to reconnect AirPods with a Windows 10 PC
Once you successfully paired AirPods ith your windows 10 PC, it will automatically connected each time when you remove it from the charging case. But if sometimes, Airpods failed to connect automatically, you should reconnect it through these steps: –
- Go to the Device setting by pressing Win + I shortcut key.
- Click on Bluetooth and other devices settings option from the left side of page.
- Now proceed to the audio section by scrolling down to the page.
- Under section Bluetooth and other devices, you will see the option AirPods.
- Make a click on it.
- Thereafter click on Connect button.
- It will reconnect AirPods with your PC again.
That’s all.

2 thoughts on “How to Pair Connect Apple AirPods in Windows 10 PC”