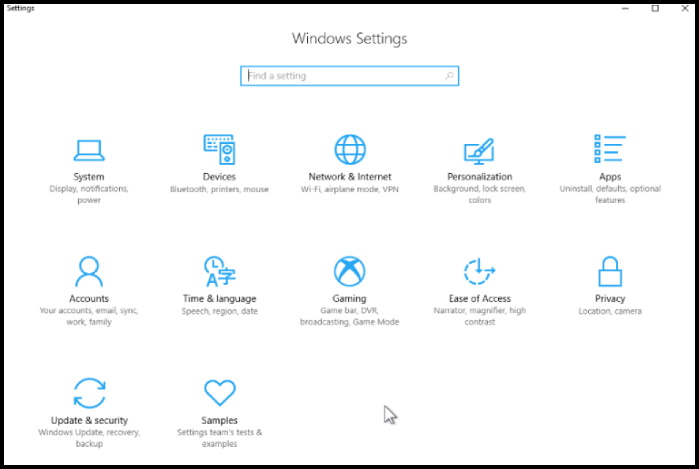
How to Fix Windows Setting Not Working Properly in Windows 10. Windows setting app is the most important feature of windows 10 because mostly function of windows are operated through windows setting at single place. Many users report that Windows setting not working properly or not open in normal way in windows 10. Microsoft also highlights occasionally through windows latest cumulative updates. Sometimes this problem raise while installing windows latest updates. Three are so many reason of this issue, such as corrupted file system, failed windows updates and so on. Today in this article we will discuss on its various fault and its solution.

How to Fix Windows Setting Not Working Properly in Windows 10
Before proceeding further to another you must try for initial workaround so that you could resolve your issue initially.
Initial Workaround
1. The first problem is of its opening. Windows 10 setting app does not open in normal way. Most users are not aware of various other method to open windows setting. If you try it by single method as you know, kindly try with some different method also.
Make a click on this link to Open windows setting by 15 methods. You may choose any one of them. There is possibility to open it easily.
2. Restart your PC.
Apply the Windows Troubleshooter
Step-1: Open Control Panel.
Step-2: Navigate Troubleshooting from the list and make a click on it.
Step-3: Next, click on View all located in the left column.
Step-4: Now a new windows box will appear on your screen namely All Categories.
Step-5 : Here find out Windows Store Apps and click on it.
Step-6: When a new wizard appears, click on Next to start the process.
Follow the on-screen instructions and let the troubleshooting complete. It will automatically fix your issue.
Don’t forget to restart your PC.
Use Windows PowerShell to re-install Setting App
- Make a right-click on the Start button
- Here select Windows PowerShell (Admin) from the appeared Power Menu.
- A UAC prompt will display.
- Click on Yes to proceed further.
- When Windows PowerShell appears on the screen, type the following command after blinking C:\WINDOWS\system32>.
- Press Enter.
- Get-AppXPackage | Foreach {Add-AppxPackage -DisableDevelopmentMode -Register “$($_.InstallLocation)\AppXManifest.xml”}
- The system will now reinstall the application and hopefully, that will fix Settings App Problems in Windows 10 too.
Rename Immersive Control Panel Folder to fix Windows Setting App not working properly in Windows 10
If you are facing this issue after applying windows update via April 2018 update v1803, you should rename Immersive Control Panel folder to resolve this problem. Selecting default menu app may be a cause of this inconvenience. Follow these steps: –
- Click on the File Explorer icon located at the Taskbar
- You may press Win+E shortcut key conjointly to open File Explorer.
- Here, find out the directory C:\Windows.
- Locate ImmersiveControlPanel and rename it to ImmersiveControlPanel.old.
- After that, make a click on Cortana and type cmd.exe in the search box.
- When the result appears on screen, click on Run as administrator.
- A UAC prompt will display, click on Yes to give permission.
- Command Prompt window will open.
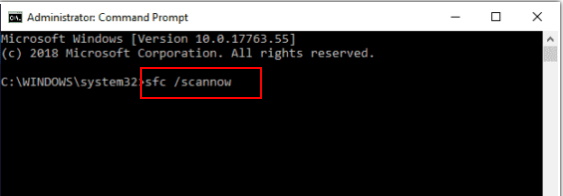
- Now type sfc /scannow and then Press Enter to run it.

- The ImmersiveControlPanel folder will be recreated automatically.
- Reboot your PC.
Create a new User Account
There is also a possibility of window setting not working properly due to existing user account. In this case, you should create a new use account to resolve this issue.
- Make a right click on windows start menu option.
- Select Control Panel from the appearing menu list.
- Control panel windows will appear.
- Here select User Account option.
- Select manage another account.
- Now select add a new user in PC Setting
- Follow the onscreen demand and open a new user account.
- Hopefully you will get rid of this problem.
That’s all.

3 thoughts on “How to Fix Windows Setting Not Working Properly in Windows 10”