How to Create Picture Password in Windows 10 / 8. Picture password is one of the best and interesting feature of windows 10 / 8 which provides a better and easy way to sign in or login with system. To login with picture password makes you a frequent and also little more fun. Picture password is the best option because it offers you a easier way than Typing or remembering password or login PIN. You sign in by drawing shapes, tapping the right points, or making the right gestures over an image that you choose in advance. Pictures password also provide an extra layer of security to the users.
How to Create Picture Password in Windows 10
Here, in this article we will discuss about how to create Picture password in windows 10 as well as Windows 8. First we will see it for windows 10 thereafter for Windows 8.
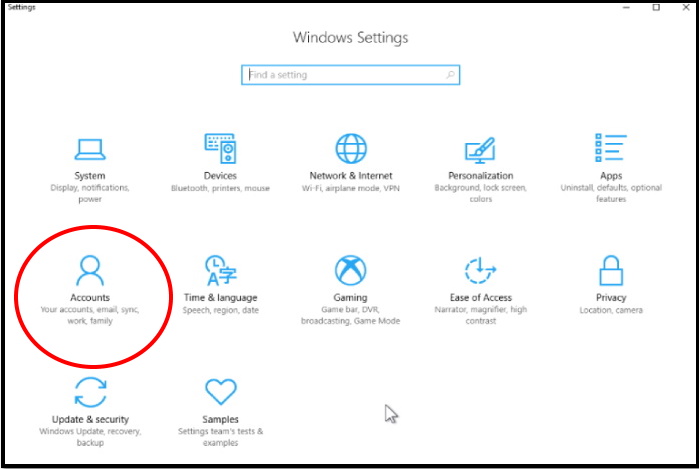
- Open Windows Settings App.
- Go to the Accounts section.
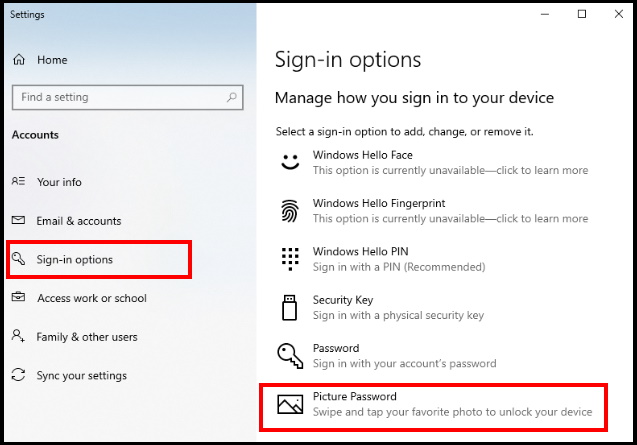
- Here, from the left panel, select Sign – in option.
- Thereafter from the right pane, select on Picture Password from the bottom of menu.
- Now Windows will ask you to verify that you’re the owner of the account by entering your password.
- Type your password and click on “OK” button.
- Then, click on the “Choose Picture” button.
- A window will appear as Open/Save As dialog box.
- You have to locate and select the picture you want to use. Choose the picture of high resolution as well as full screen image.
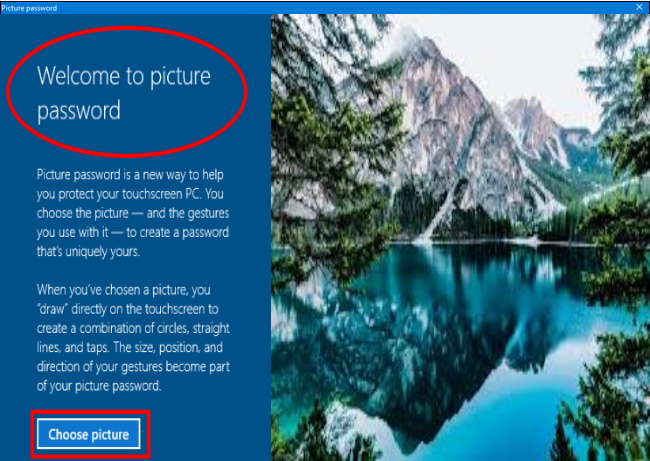
- You can see your uploaded photo now in the Settings.
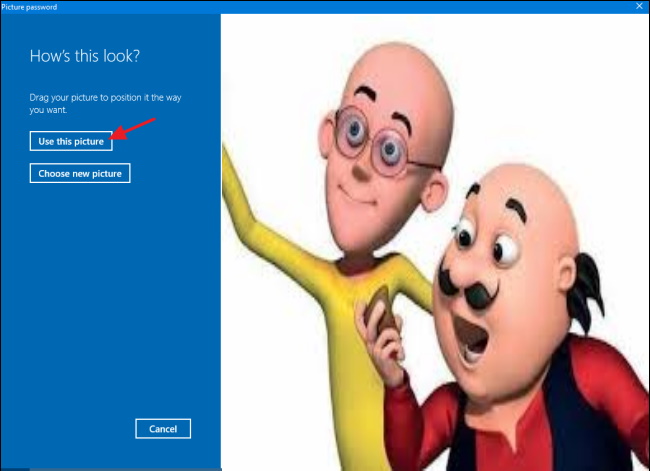
- If you are not very much comfortable with this picture you may click Choose New Picture for better picture as per your choice.
- Thereafter Click Use this Picture. once you are confirmed with the uploaded picture.
- Next, draw three gestures on the pictures.
- You can click and drag to draw a simple shape like a circle or triangle or you may just click to create a tap. (See the screenshot).
- Now you will find The three number 1, 2, 3 at the left pane of password window.
- Your each gesture would change the colour of number, it means you have completed one or two gesture.
- After drawing all the three gestures, click on Start over button.
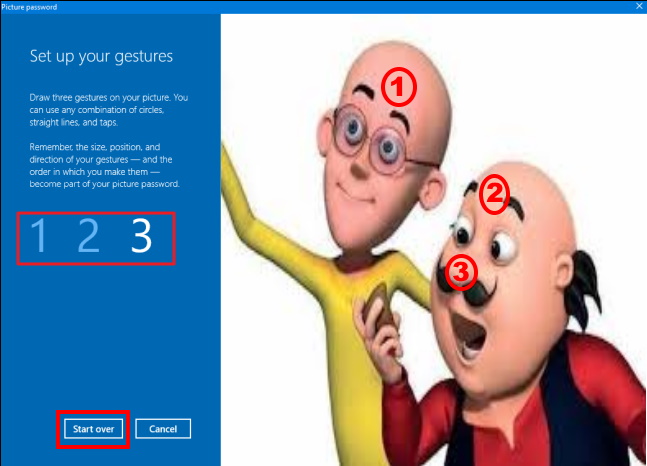
- Make sure to remember the gestures and their positions also.
- After providing the three gestures, you will be asked to confirm the gestures again by drawing the exact movements.
- You will get congratulations written message after successfully providing the exact gestures to confirm the password.
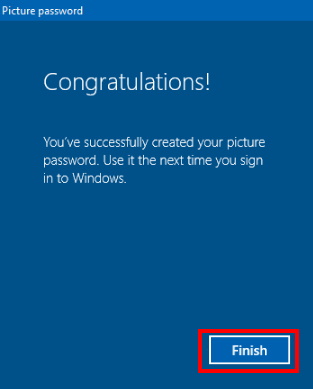
- Then Click on the Finish
- Use the same next time you sign into Windows 10.
How to Create Picture Password in Windows 8
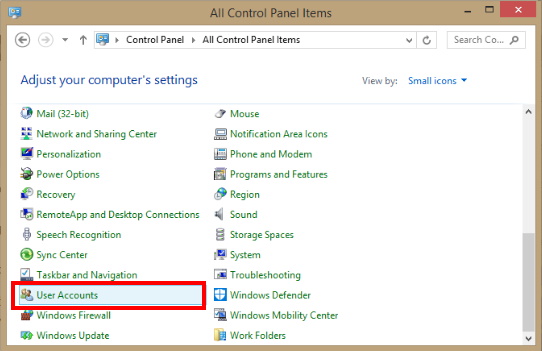
- Go to the Control Panel app.
- A list of multiple option will display here.
- Make a click on Users Account to open it.
- Under Users Account page, go to the PC setting under “Make changes to my account in PC Setting“.
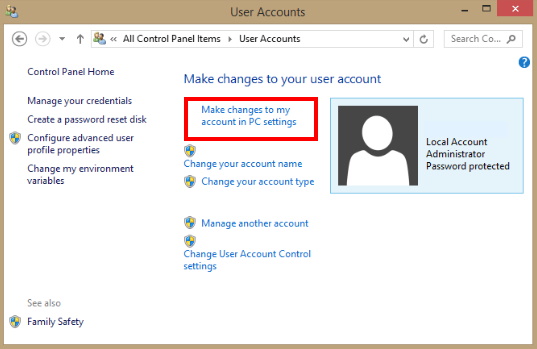
- Now select Account option from PC Setting window.
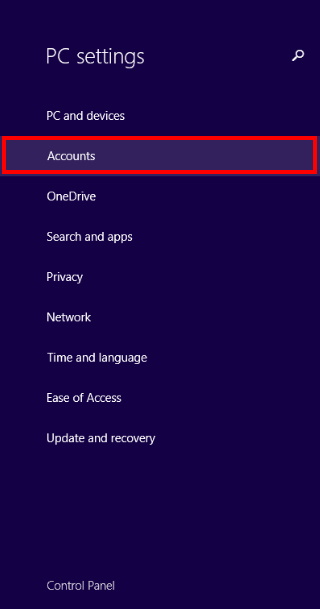
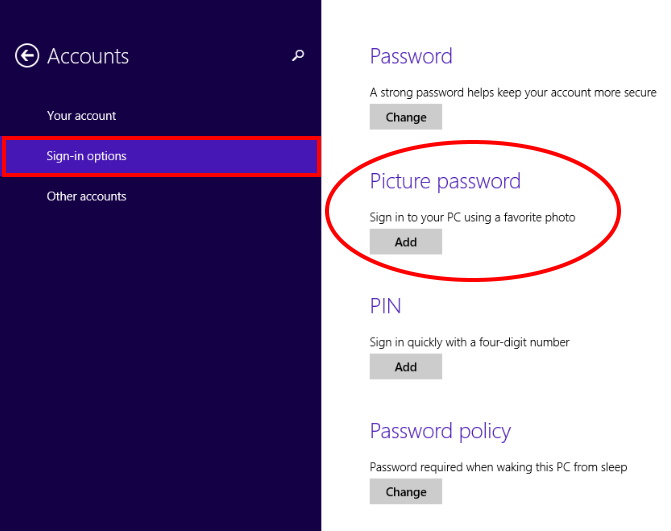
- Here select Sign in option from the left pane of Account section.
- Thereafter From the right pane, select Add button under Pictures password option.
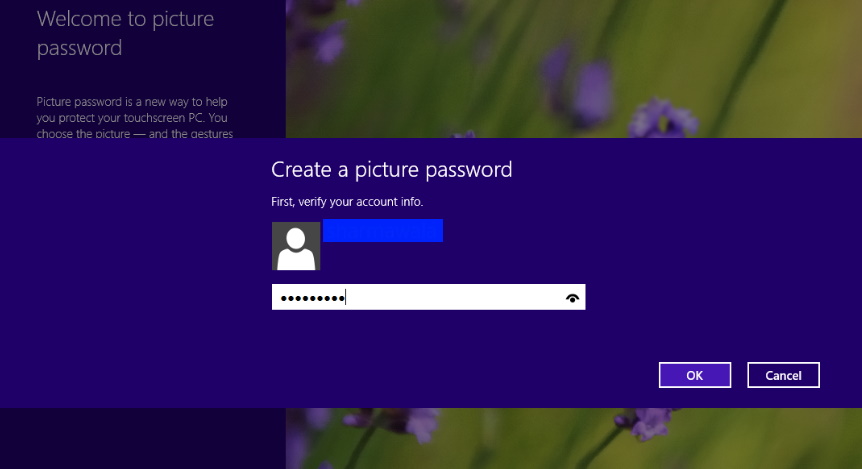
- Now a window box will display for verifying your account info.
- Then Put your windows password here to confirm.
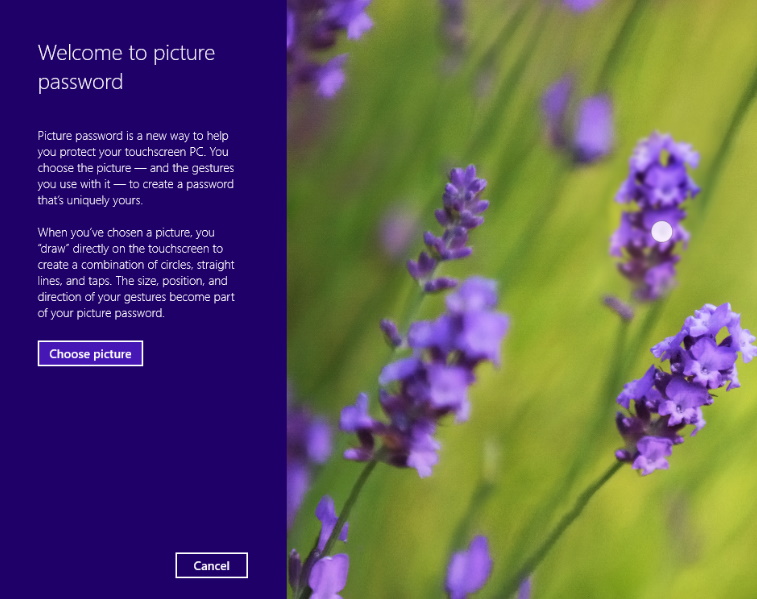
- Next you have to select a particular pictures to set password from a folder location or pictures folders.
- Then, click on choose Picture button from this tab.
- Click on this button Use this Picture.
- A new tab of Set up Your gestures comes in view.
- Here you have 3 gestures options to configure and create a password.
- Thereafter, repeat the steps by Touching or Clicking during choosing Pictures to configure the password.
- Then Press the OK button.
- Now your system will ask to insert Pictures password before logging in.
Users also Search for
- How to Use Picture password in windows 10
- How to change picture password in windows 10
- signing-in-with-a-picture-password windows 10
- How to remove picture password in windows 10
- How to switch to picture password in windows 10
- Windows 10Picture Password not working
- How does picture password work in windows 10
That’s all.

2 thoughts on “Tips: How to Create Picture Password in Windows 10 / 8”