How to Install Ubuntu 20.10 Groovy Gorilla in Windows 10. Ubuntu is one of the most important Linux distribution system which has been recently launched by Canonical and provided the name Ubuntu 20.10 Groovy Gorilla.
Groovy Gorilla is the latest update of Ubuntu Linux Distribution having more improvements and enhanced feature. Canonical will support this upgraded version of Ubuntu 20.10 for nine months. As we all know that Canonical releases a long-term support (LTS) version of Ubuntu that’s supported for five years.
It is not available in Microsoft store, so you can’t get it from store. You should download and install it as per WSL (Windows subsystem for Linux). Be continue with this article , we will see How to Install Ubuntu 20.10 Groovy Gorilla in Windows 10 and also its feature and improvements.
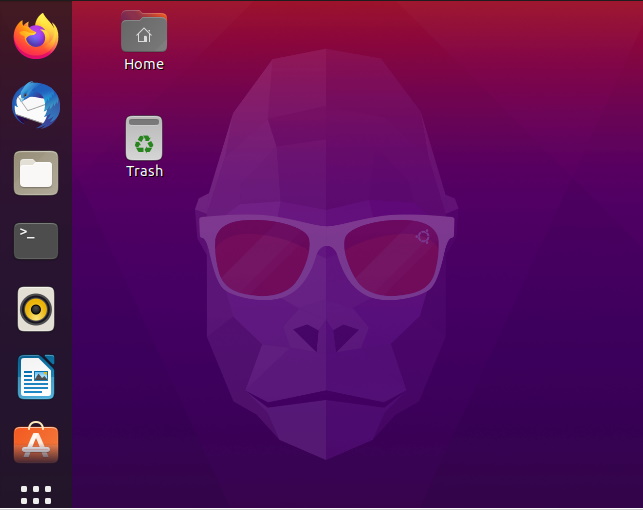
How to Install Ubuntu 20.10 Groovy Gorilla in Windows 10
You will have to update Ubuntu 20.10 Groovy Gorilla in Windows 10 manually. Follow these steps to complete the process: –
- Go through either the standalone Ubuntu shell or open one up in Windows Terminal.
- First enter sudo su in the terminal to get root access.
- Thereafter, enter nano /etc/update-manager/release-upgrades
- Use the cursor keys to find out the bottom where you’ll see prompt=lts.
- You should replace lts to normal.
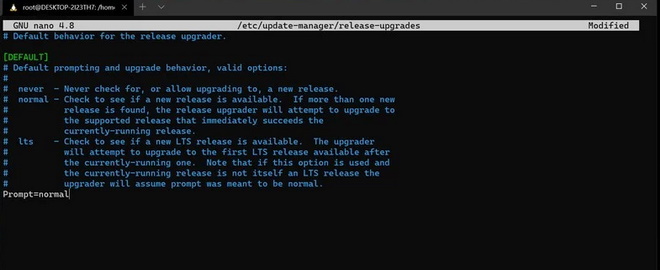
- Now, press ctrl + x to exit nano and select y to save the file.
- Then back to the terminal, enter do-release-upgrade -d.
- Wait a while and you’ll be prompted to accept the upgrade.
- Here, type y and press enter.
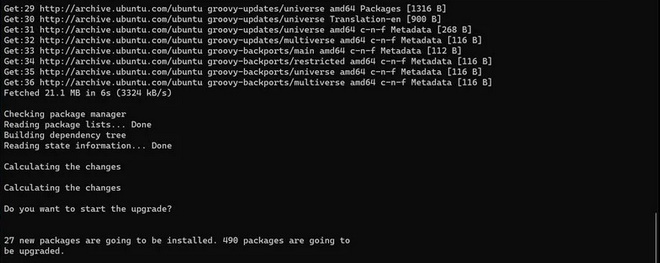
- This part will take some time but eventually you’ll be prompted to remove obsolete packages.
- Again, type y and press enter.
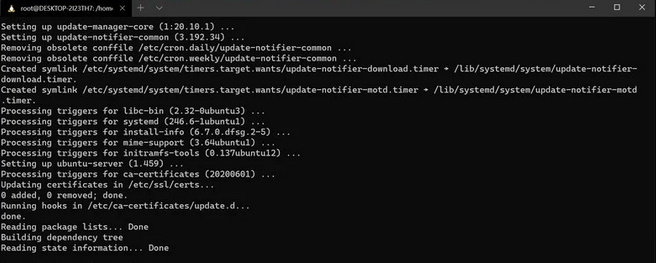
- Now a prompt will appear to restart Ubuntu to finish. Hit Y, press enter.
- Again wait a while.
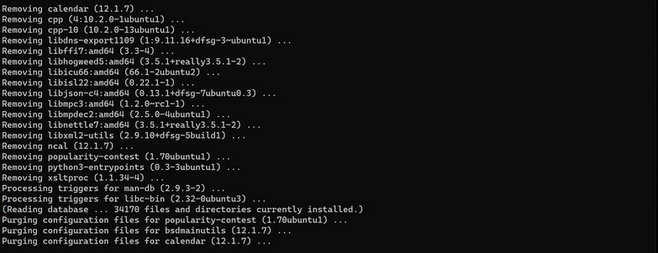
- If a regular shell appear on your screen, it means upgrade is complete.
Main Improvements and Changes of Groovy Gorilla
The main improvements and changes of Ubuntu 20.10 Groovy Gorilla in Windows 10 is as under: –
1. Updated Packages
Ubuntu 20.10 Groovy Gorilla includes the 5.8 Linux kernel having various updates and added support since the 5.4 Linux kernel released in Ubuntu 20.04 LTS. Few of them are as under: –
- OverlayFS pairing with VirtIO-FS
- Thermal pressure tracking for systems for better task placement wrt CPU core
- XFS online repair
- Active State Power Management (ASPM) for improved power savings of PCIe-to-PCI devices
- Btrfs RAID1 with 3 and 4 copies and more checksum alternatives
- USB 4 (Thunderbolt 3 protocol) support added
- X86 Enable 5-level paging support by default
- Initial support for POWER10
- General Notification Queue for key/keyring notification, mount changes, etc.
- Airtime Queue limits for better WiFi connection quality
- Intel Gen11 (Ice Lake) and Gen12 (Tiger Lake) graphics support
- Initial support for AMD Family 19h (Zen 3)
2. An Upgraded GNOME Desktop
Groovy Gorilla uses GNOME 3.38.0, the latest version of the graphical desktop environment that powers the default Ubuntu desktop experience.Thew main key features are as under: –
- There are two views of Applications grid.
- The first one is Frequent which showed your most popular applications.
- The second one is All which listed all applications at one place.
- You can drag and rearrange the order of the application icons as per your choice.
- You are free from an alphabetically sorted list under GNOME 3.38.0 desktop view.
- Now You can mix and match to your content by simply dragging it at your favourite spce.
- Dragging one icon on top of another forms a stack or group, just like it does on your smartphone. For example, you might want to drag all of the LibreOffice icons into a group.
- If you drop more than nine icons into a group, they’ll be paginated when you scroll or page through them.
3. Calendar Notifications
- The calendar tool has also been updated.
- You can now see notifications about your calendar entries at the bottom of the calendar page.
4. System Menu Reorganization
- Now you will see a Restart option under system menu.
- Earlier it was only available during Power Off your system.
5. Renamed of Setting tools
The following setting options have been renamed: –
- “Device Color profiles” is now “Color.”
- “Universal Access” is now “Access.”
- “Language and Region” is now “Region and Language.”
- “Screen Displays” is now “Displays.”
That’s all.
