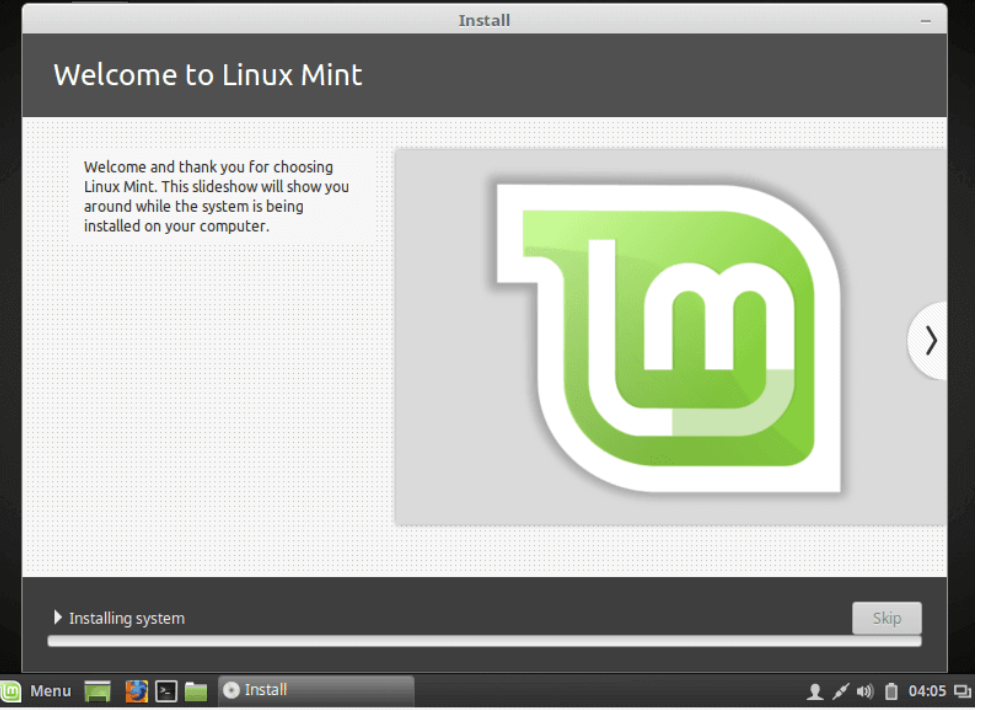
How To Create a UEFI Bootable Linux Mint USB Drive. Before starting the main topic, we will discuss a little about what is Linux Mint? Linux Mint is one of the popular Linux distribution since 2011-12 which popularity follows from its ease of installation. The Linux Mint operating system (without additional software or personal data) takes roughly 15GB, so give this partition a decent size (100GB or more). ext4 is recommended. Linux Mint is based on the long-term support release of Ubuntu, which provides stability and support.

System Requirement
To create a UEFI-bootable Linux Mint USB drive, you must have the following accessories:
- A computer equipped with Windows 8.1 or Windows 10
- A blank USB drive
- Win32 Disk Imager
- Linux Mint disc image
The disc image (a single large file with a name ending in .ISO) represents a direct copy of what the contents of a CD would be, if a CD with Linux Mint were ripped to a single file. For that reason, you need a tool like Win32 Disk Imager, which executes ISO-to-USB for your Linux USB.
How to Create the UEFI Bootable Linux Mint USB Drive on Linux Mint

Format a USB Drive
At first you will have to Prepare the selected drive to adopt ISO-to-USB Linux transferring. To do so, follow these steps: –
- Open File Explorer and make a right-click on the drive’s letter.
- Click on Format option from the appearing menu.
- A Format Volume display screen will appear, make the check against option quick format and also set file system as FAT32.
- Click Start.
Convert Linux Image into Bootable Linux Mint USB Drive
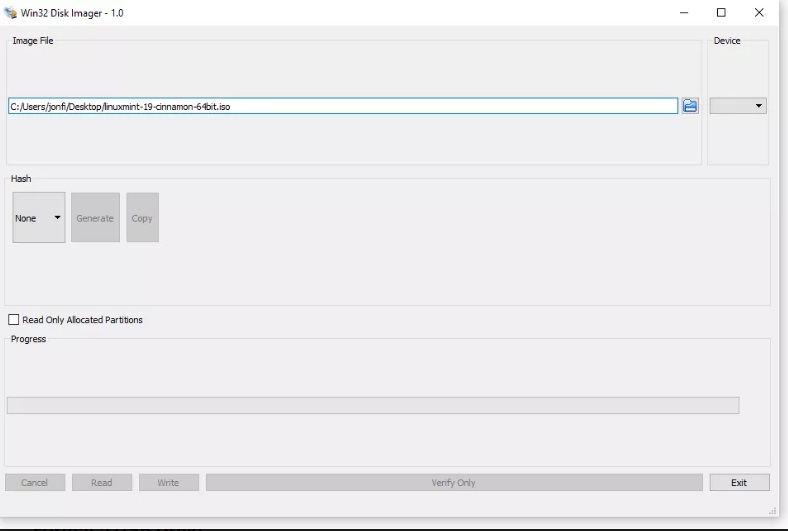
- Launch Win32 Disk Imager.
- Its driver latter should be same as USB drive just you prepared.
- Make a Click on that folder icon.
- Find out Linux Mint ISO files which you downloaded earlier.
- Change files type as All.
- Click on the ISO file appeared on main disply screen.
- Thereafter Click Write.
Also Read : How To Create Bootable Ubuntu USB Drive Using Windows
How to Disable Fast Boot in Windows 10

- Make a Right-click on the Start menu button. You may press shortcut key Win-X.
- Here select Power Options.
- When the power options window appears, click on second menu items from left side: Choose what the power button does.
- Now go to Shutdown Settings option.
- Uncheck the box against Turn on Fast Startup option.
- Finally click on the Save Changes.
If the box is grayed out, enable it by clicking the link at the top that reads, Change settings that are currently unavailable.
How to Boot a UEFI Bootable Linux Mint USB Drive

- After you have disabled fast start up mode, restart your system.
- Reboot your system, meanwhile press Shift key to boot in Linux Mint.
- Select Use a Device feature option and choose USB EFI Drive.
Also Read : How to Download and Install YouTube Videos on Linux
You should try rebooting your PC again and again, If you don’t see blue UEFI screen to select EFI boot, and also boot from USB drive forcibly while computer start-up. There are various different key presses in different manufactures to open start-up feature. They are as under:
- Packard Bell – F1/F2
- Samsung – F2/F10
- Sharp – F2
- Dell-F2
- Sony – F1/F2/F3
- HP- F1/F10 or Escape
- NEC-F2
- Toshiba – Escape, F1/F2/F12
- Emachines-Tab or delete
- Lenovo-F1/F2
- Acer – F2 or delete
- Asus – F2/F9 or delete
- Compaq – F10
Thats all… Thnx..

There is a difference between win 10 and win 11 I have a 11 not a 10 Win 11 will not boot a store bought usb bootable linuxdevice
This page was buried way down the Google lists. I have W11Pro. I bought my Linux Mint USB from the store, as W11 will not boot. I can run Linux from the USB, but it freezes if I try and install Mint on an external drive. It will also freeze after operating Mint for a while. I will try downloading Mint again onto another USB myself, though how I am going to be able to do this with the way that the USB is working may be a challenge.