How to Enable Windows Defender Ransomware protection in Windows 10. At first we will have to know about What is Ransomware Protection and why it is named as Ransomware. By name “Ransomware” itself is defined as a type of malicious software for which you have to pay money. It is a threat that damage your system and block your access to system. For recovering your system from Ransomware attacks, you will have to pay money. There are two options available with you, either you pay some money to recover or access to your system, or remove this virus by using some software. You may remove Ransomware by any software provided, but 100% success in removing these type of threat is not sure. Because Ransomware apply data encryption form to affect your windows 10 system and to decrypt your data, you have to pay some money.
Also Read : 06 Methods to Enable or Disable Windows Defender Firewall in Windows 10
How to Enable Windows Defender Ransomware protection in Windows 10
Way-1
Windows 10 Defender has provided a security aspect to protect your system from Ransomware threat, but it is not under default setting. You will have to enable it by following these steps: –
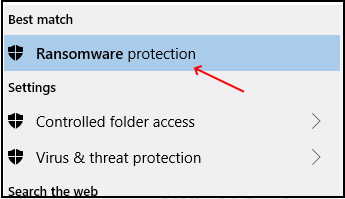
Step#1 : Simply type “Ransomware protection” in the text field of windows Search bar.
Step#2 : Make a click on “Ransomware protection” from the displaying search results on your screen.
Step#3 : Under Controlled folder access, Turn the toggle option to “On”.
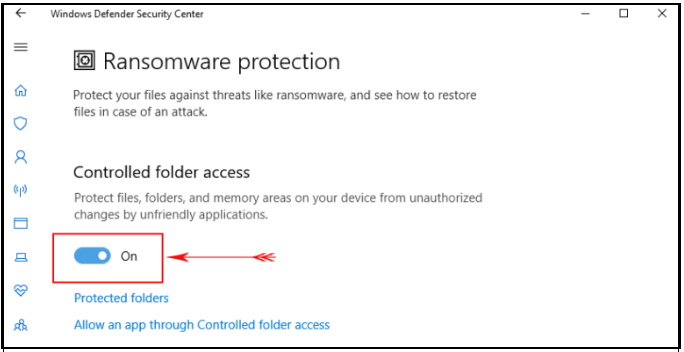
It means, Windows defender Ransomware protection is now enable in your Windows 10 system. Now, you have to add another protected folder by following steps: –
Step1: Click on Protected folders option below the toggle which you previously turned on.
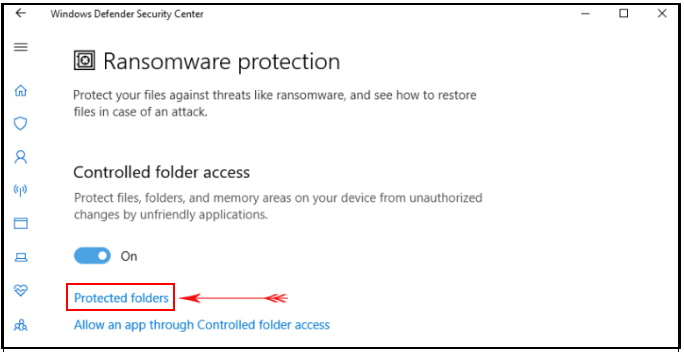
Here you will see the list of System folders that are already under protection from Ransomware threat.
Step2: So, Click on the Add a protected folder icon for adding more folder to protect them from this virus.
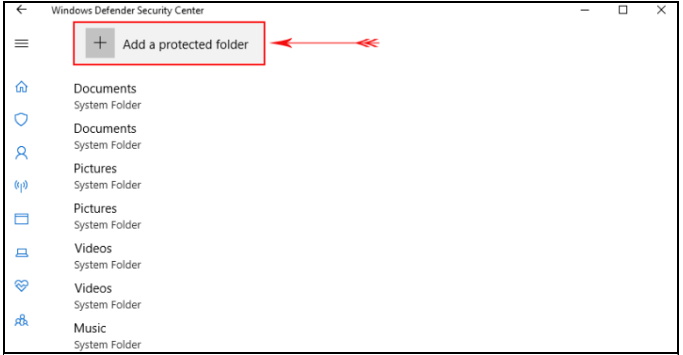
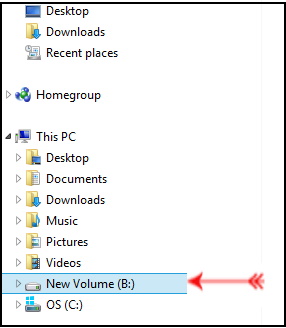
Step-3: Select that folder which you wanted to protect.
If you want to provide access of these protected folder to any app, then follow these steps: –
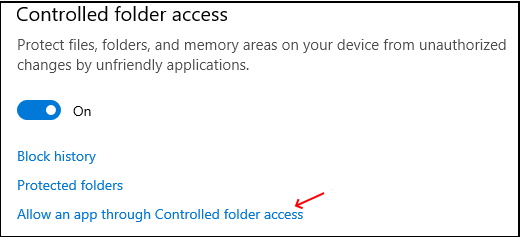
- Under “Controlled folder access” window, click on Allow an app through Controlled folder access.
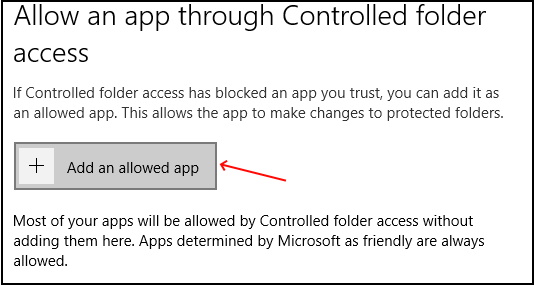
- Make a click on Add an allowed app.
- Here add that app which you wish to add with protected folder and give access.
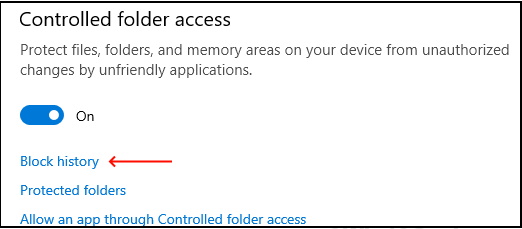
- Some programmes or folders are still laying in Block history folder.
- You may view these blocked folder, make a click on Block history.
- If they are unnecessary, simply uninstall them.
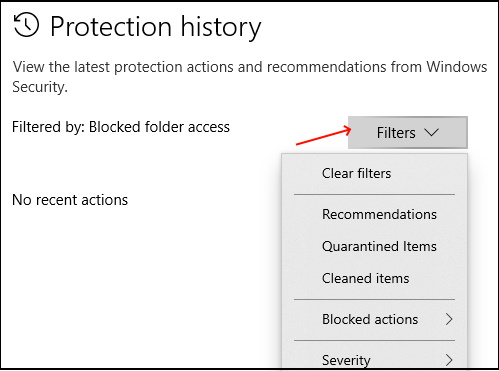
- If you need to view the different actions that have been taken by Windows Defender, click on Filters.
Way-2 (Through Windows PowerShell)
- Open Windows PowerShell by press Win+X keys conjointly.
- Click on Yes on the User account control prompt locking the screen.
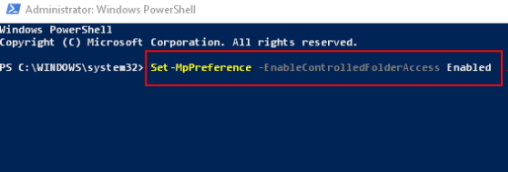
- Type the following command in windows powershell and hit Enter –
Set-MpPreference -EnableControlledFolderAccess Enabled
For adding folder to the list of protected app, use the cmdlet:
Add-MpPreference -ControlledFolderAccessProtectedFolders “<the folder to be protected>”
Under the ‘<>’ area, you can write the address of the folder you wish to add.

Hopefully, you will get advantages of this article.
If any queries, kindly make a comment.
Thnx.

3 thoughts on “Tips : How to Enable Windows Defender Ransomware protection in Windows 10”