How to Download and Install OBS Studio in Windows 11 / 10. Although Game Bar DVR is a well known recording software for Windows users. Users record the screen as well as take snapshot through Game Bar DVR. But through Game Bar, you can only record gaming, not desktop or File explorer window. And now Microsoft has introduced newest version of Windows as Windows 11 and accordingly a highly rated recording services is required. OBS studio is the best open-source recording software for Windows. OBS stands for Open Broadcaster Software studio. Free OBS Studio Download for windows 11 and experience with improved recording of screen and screenshot and also an alternative of other recording services.
Highlights of OBS Studio
The following are the main highlights of OBS Studio: –
(a) OBS Studio is a highly rated open source software used for screen recording.
(b) You can download and install OBS Studio free.
(c) A lot of plugins for OBS Studio also available in their website.
(d) Windows 11 Desktop and File explorer recording facilities available with OBS Studio download.
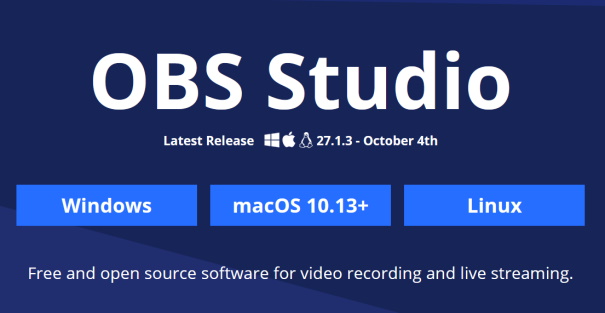
(e) Whereas through Game bar, you can record only gaming, OBS Studio provide you a complete monitor screen recording including audio. OBS Studio enables the users to combine audio, mix scenes with custom transitions as well as Live streaming.
(f) You can record game as well as other windows 11 desktop activities at a time through OBS Studio.
(g) OBS Studio also provide Live Game streaming as well as switching between Camera and gaming. You can also make Live comments on Streams.
(h) For recording Software on your Windows 11 PC, OBS Studio is the best medium.
How to OBS Studio Download Windows 11 / 10
Here is how to Download OBS Studio in Windows 11.
- Go the OBS Studio Home page.
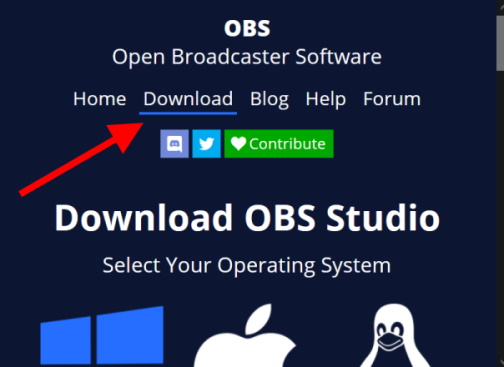
- Click on Download button from the top menu.
- Here you will get the option to download OBS for Windows, Max or Linux.
- Choose the Windows logo.
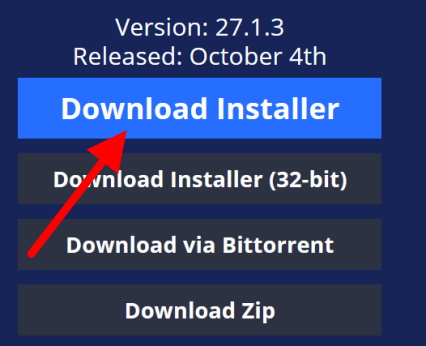
- Thereafter click on Download Installer.
- A new small window will pop up.
- Here click on Save file.
- Choose a folder to download and save OBS Studio installer in your Windows 11 system.
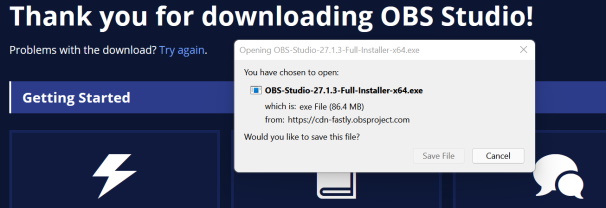
- Finally click on save button.
- Now OBS Studio download is successfully completed in your system.
How to Install OBS Studio in Windows 11 / 10
- Go to Taskbar and click on File Explorer.
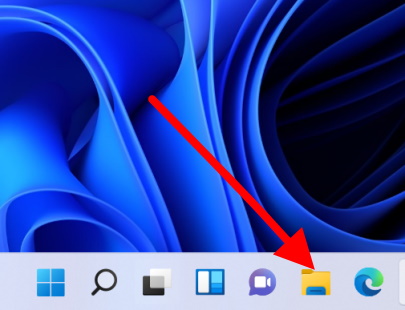
- Open the folder where you saved the OBS Studio Download Installer earlier.
- Click Next on OBS Studio setup window to obtain license information.
- Click on Next button to proceed further.
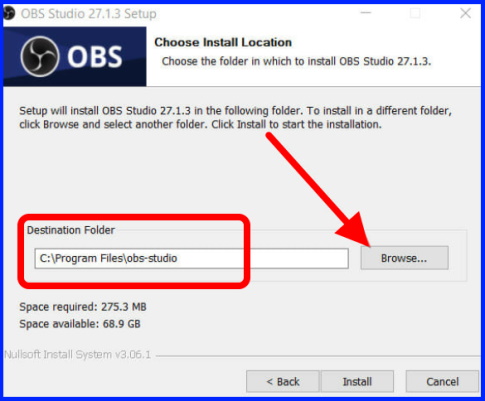
- Under Destination folder, click on Browse button.
- Choose the destination folder and press Ok button.
- Thereafter click on Install button.
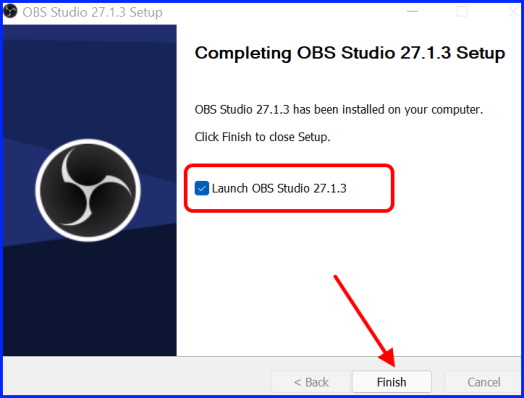
- Now make the check against box Launch OBS Studio and click on Finish button.
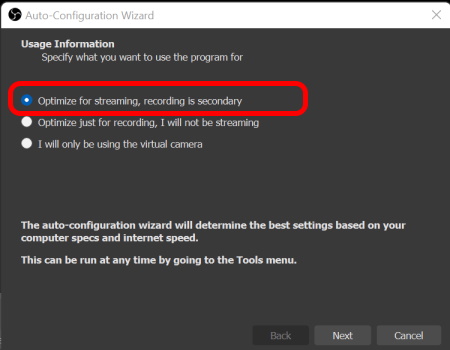
Now OBS Studio will start and an auto configuration wizard also appear on screen.
Here you will find three options: –
- Optimize for streaming, recording is secondary
- Optimize just for recording, I will not be streaming.
- I will only be using the virtual camera.
Choose the option as per your requirements. Here, for example, we have chosen the first option.
- Click on Next button.
- Thereafter select the desired video settings and press Next button.
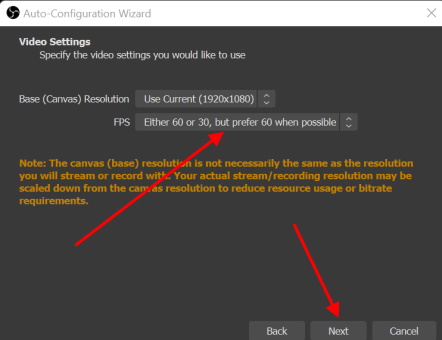
- At the end, click on the Apply settings button.
How OBS Studio works?
Now we will see how to use OBS Studio to record your active desktop in Windows 11. Go through these steps: –
- Make a click on (+) sign under Sources column of OBS Studio.

- From the drop down menu, choose the option Display Capture.
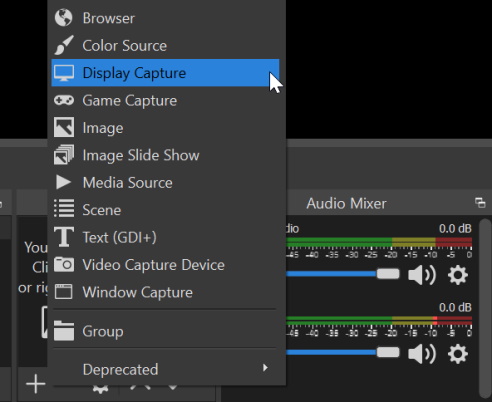
- A new window namely Create/Select Source will open.
- Here enter the source name and Press Ok button.
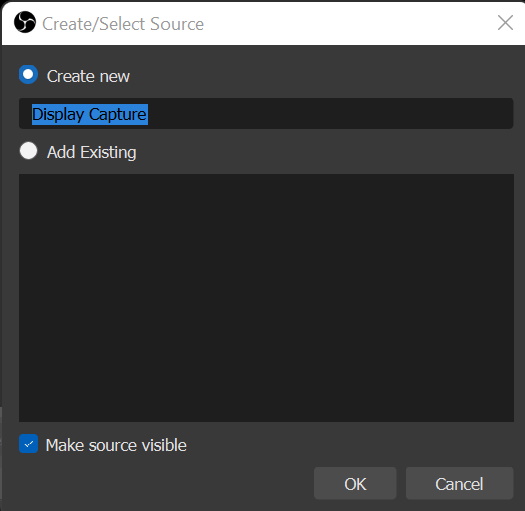
- A Properties window will open where you should only press Ok button.
- You can also choose OBS multiple streams under Display settings.
- In next window, select the option Start recording.
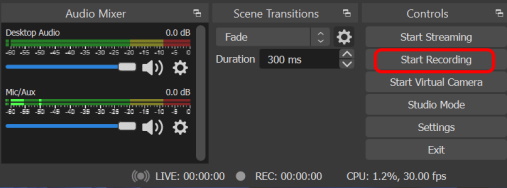
- Now Software will record all the activities of your Windows 11 Monitor.
- Once the recording is finish, simply click on Stop recording.
Where does OBS Studio save Recordings?
As soon as you click on Stop recording, OBS window will save your recording in certain place. Here is how to find your saved OBS studio video in Windows 11: –
- Make a click on Settings option.
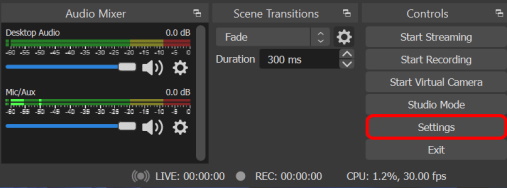
- From the left side, select Output tab.
- Here you will find the location where your video is saved. If you want to change the location, change it.
That’s all.
