How to manage Device Driver in Windows 10 / 8 / 7. Device driver is a medium through which a software in OS linked with a particular Hardware. Printing a job is the best example of device driver. You give a command (Software) of print and Printer (Hardware) follow your command. All the device drivers are centrally managed and operated through Device Manager, available in all versions of Microsoft Windows. It means, a software program provides information to a driver to describe what it wants from a hardware to do, information the device driver understands and then can fulfill with the hardware.
Through Device Manager, you can Uninstall, Roll back, Disable, Update Device Drivers. IN this article we will discuss about how to do it.
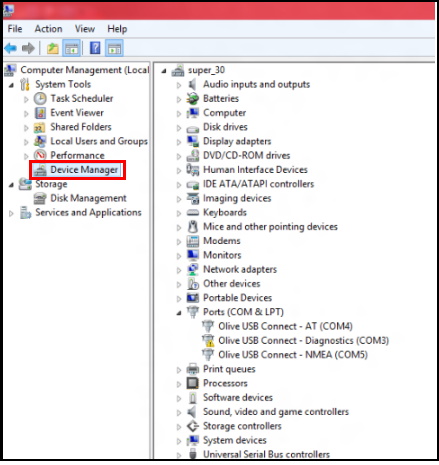
How to Manage Device Driver in Windows 10 / 8 / 7
How to Update Driver Software
- Open Device Manager.
- Find out the driver, which you want to update.
- Make a right Click on driver option.
- then click on Update Driver Software option.
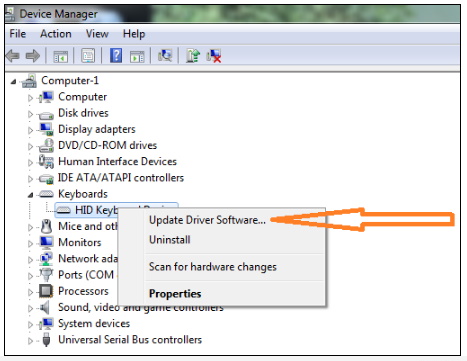
- A new wizard will open with two options on your computer.
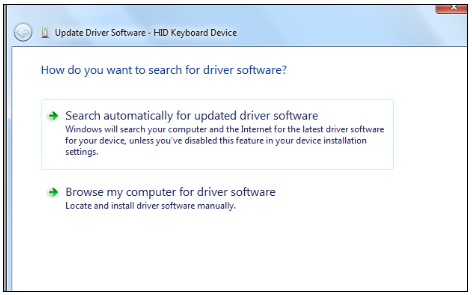
- You need to select either option to proceed.
How Do I Find a Driver’s Version Number?
- Open Device Manager.
- Locate that device you want to see driver information for.
- Right-click or tap-and-hold the device.
- When you find it, and choose Properties from that menu.
- Proceed to the Driver tab, located at the top of the Properties option.
- The version of the Driver will appear next to Driver Version just a few entries down in the Driver tab.
How to Manage Roll Back, Disable, Enable Driver Software
- Open Device Manager.
- Locate drivers for which action required.
- Double Click on existing driver then after a new window containing Properties of Driver appears.
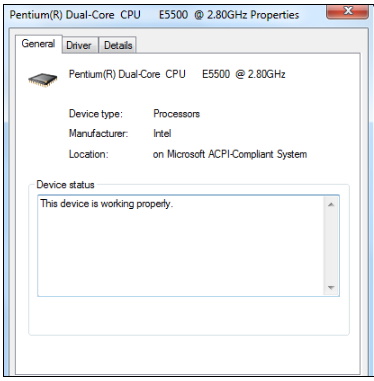
- Now choose Driver Tab.
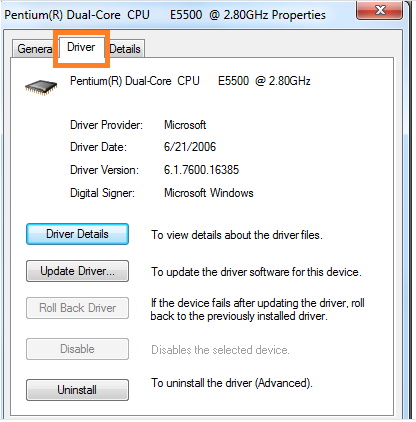
- then the option of Roll Back Driver, Disable or Enable Driver and Uninstall Driver appears.
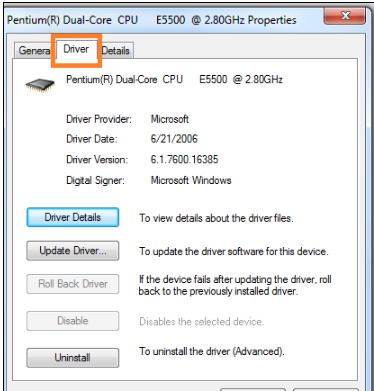
- Choose as per your requirement.
That’s all.
